LINUX_SDK Compilation
Build Environment
Prepare build environment on a PC and install dependencies.
Preparation
Prepare an X64 computer(or setup a virtual machine in Virtualbox ), install Ubuntu 22.04 LTS.
- Hardware: RAM ≥ 16 GB, CPU cores ≥ 4, Hard Drive ≥ 500 GB
- Software: Ubuntu 22.04
Dependencies Installation
1. Login into Ubuntu desktop, open Terminal, su to the root user.(or use sudo to install dependencies.)
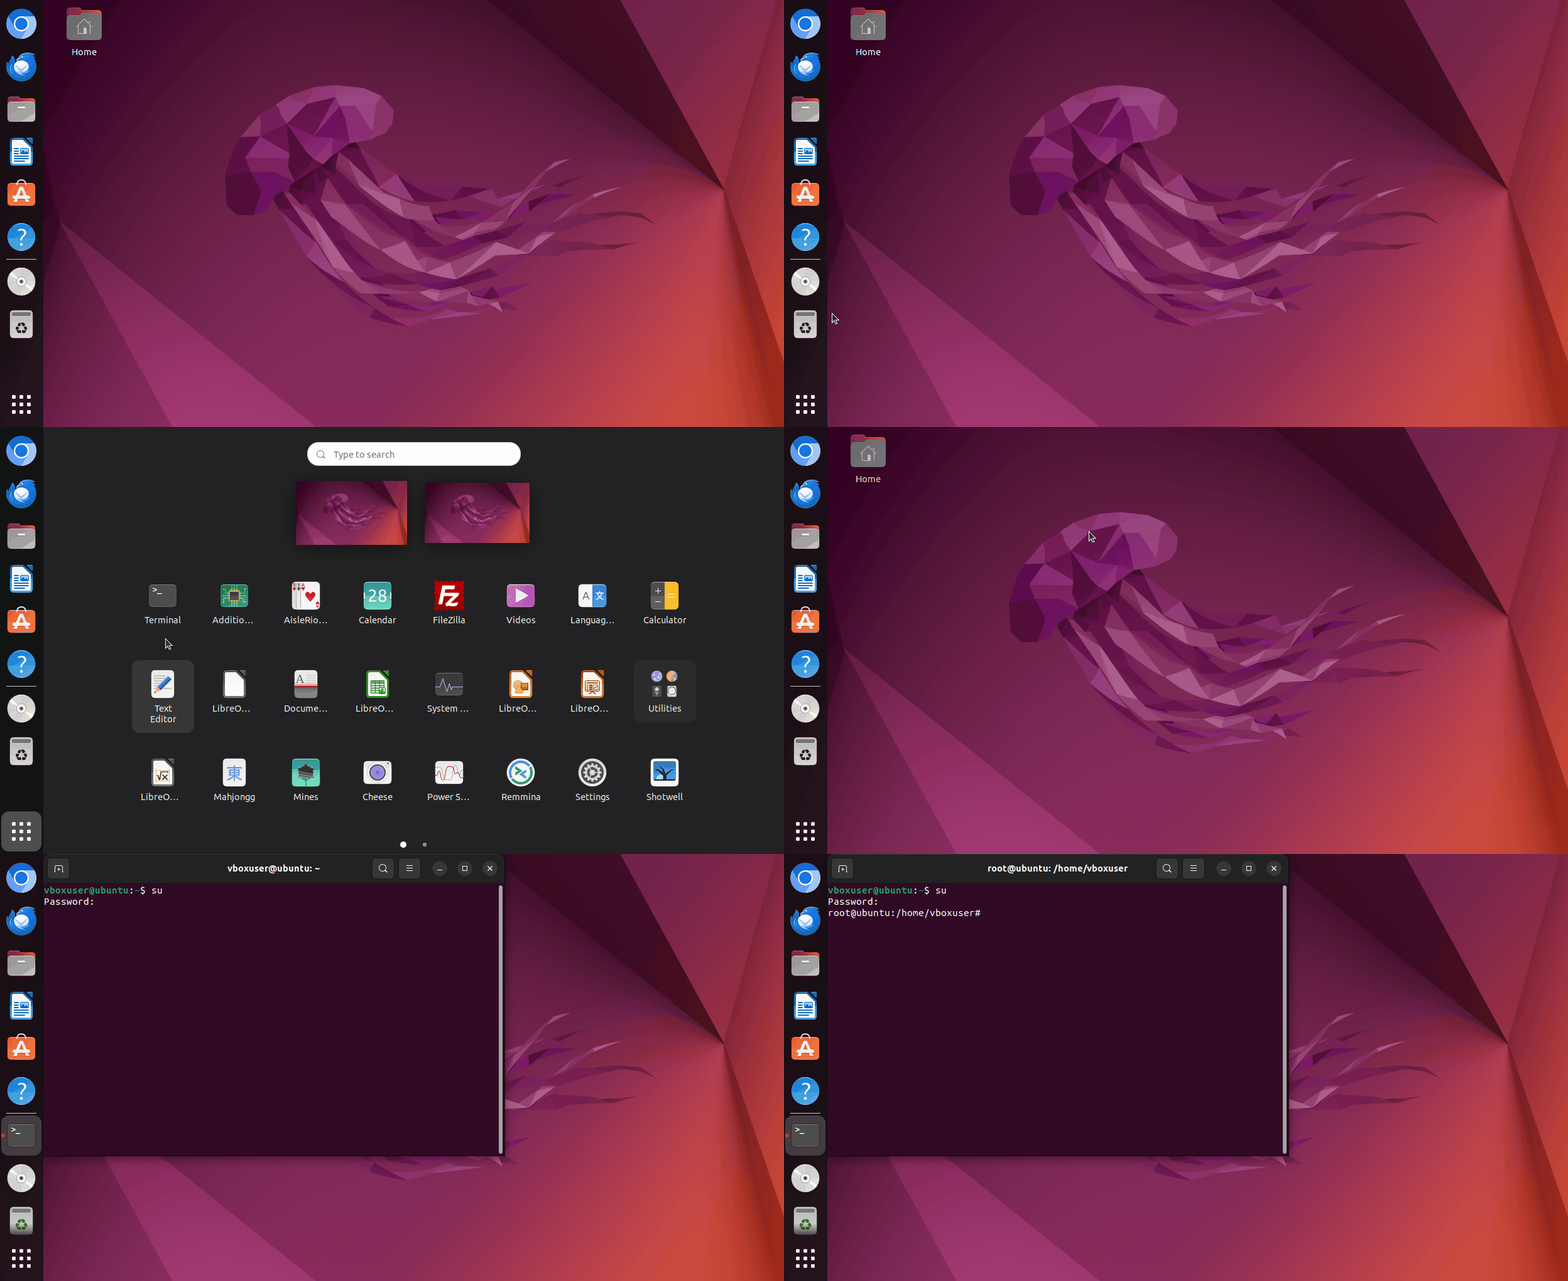
2. Input the following commands in sequence to install dependencies.
sudo apt install git bc bison build-essential curl flex libsdl1.2-dev
sudo apt install g++-multilib gcc-multilib gnupg gperf libncurses5-dev
sudo apt install imagemagick lib32ncurses5-dev lib32readline-dev squashfs-tools
sudo apt install lib32z1-dev liblz4-tool xsltproc libssl-dev libwxgtk3.0-gtk3-dev
sudo apt install libxml2 libxml2-utils schedtool lzop pngcrush rsync
sudo apt install yasm zip zlib1g-dev python3 device-tree-compiler
sudo apt install python-pip gawk openjdk-8-jdk u-boot-tools patchelf expect
sudo pip install pyelftools
SDK Source Code Access
Note
1. Source code MUST NOT be placed in a HOST shared folder for compilation if you use a virtual machine as build env.
2. DO NOT build source as ROOT.
1. Download the SDK and copy the archive to an empty folder which you prepared for the building.
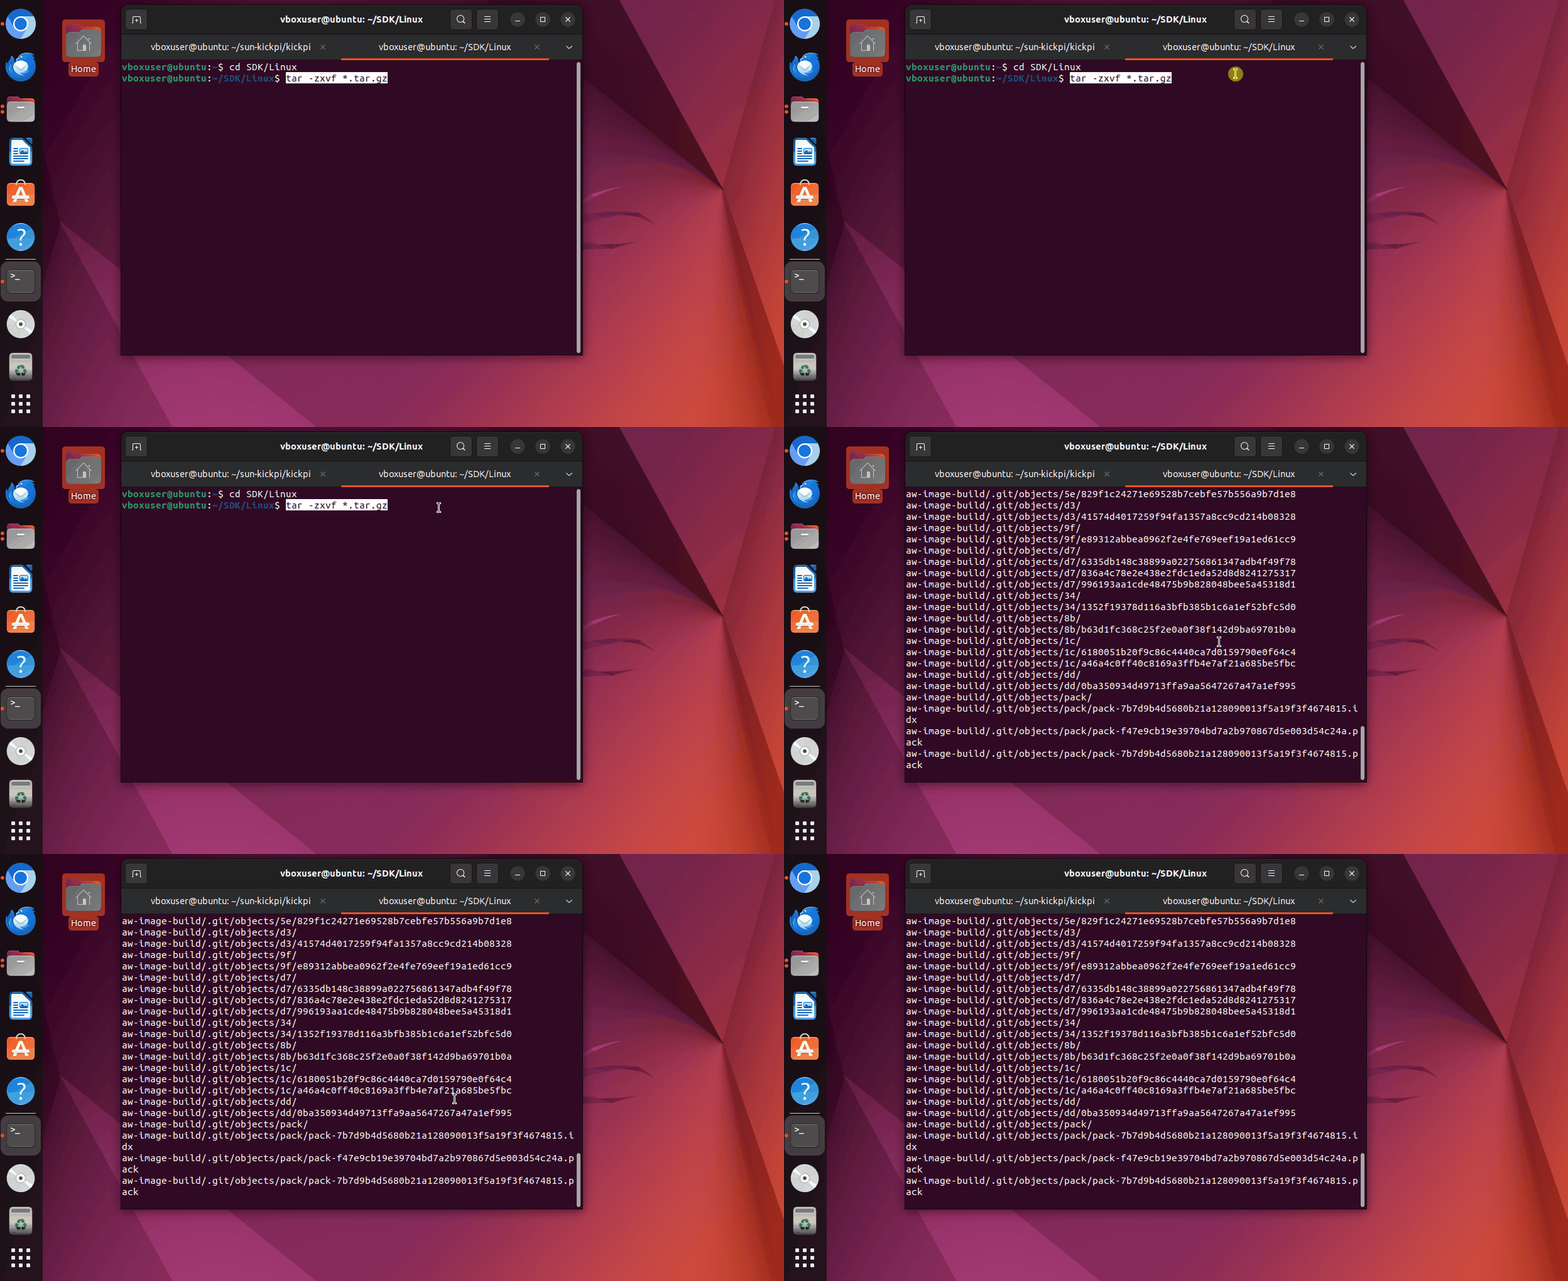
2. cd into the folder and extract tarball.
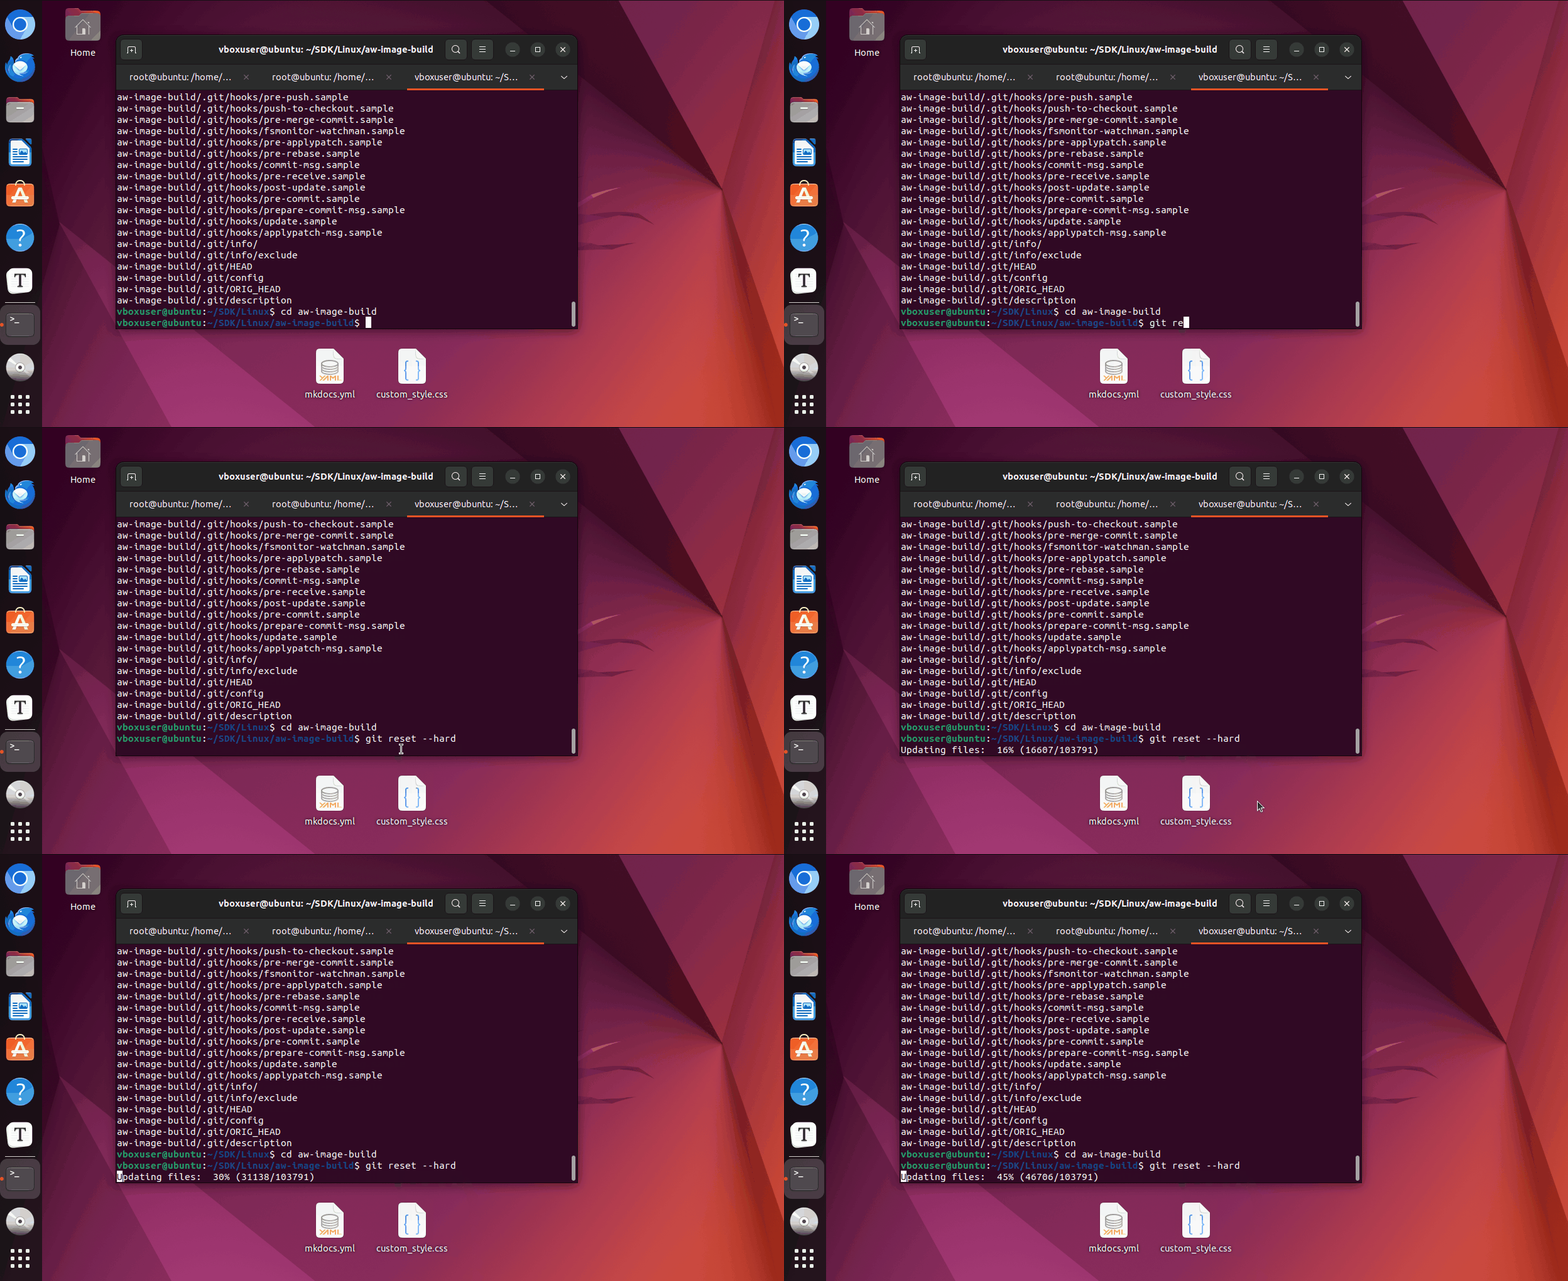
3. cd into aw-image-build sub folder and run the following command to restore the source code.
Building Interface
Tip
Ensure the build env has a stable internet connection; required dependencies will be downloaded automatically and installed during the building process.
cd into the aw-image-build directory and run the following command to start the interactive build.

Note
Build all step :Build a complete image, automatically executing steps 1 through 4.
step1.Build Kernel: Build the kernel only.
step2.Build U-boot: Build u-boot only.
step3.Build base-rootfs and deb packages:Build a root filesystem image and package custom deb software packages.
step4.Pack image:Pack the individual components of the system image into a full image for installing according to specified rules.
clean source/build/out files:Clean up the pulled source code, files generated during the building process, and the final output image.
Build boot image
1. Simply build an image to boot up board, select Build all step to proceed to the next step.
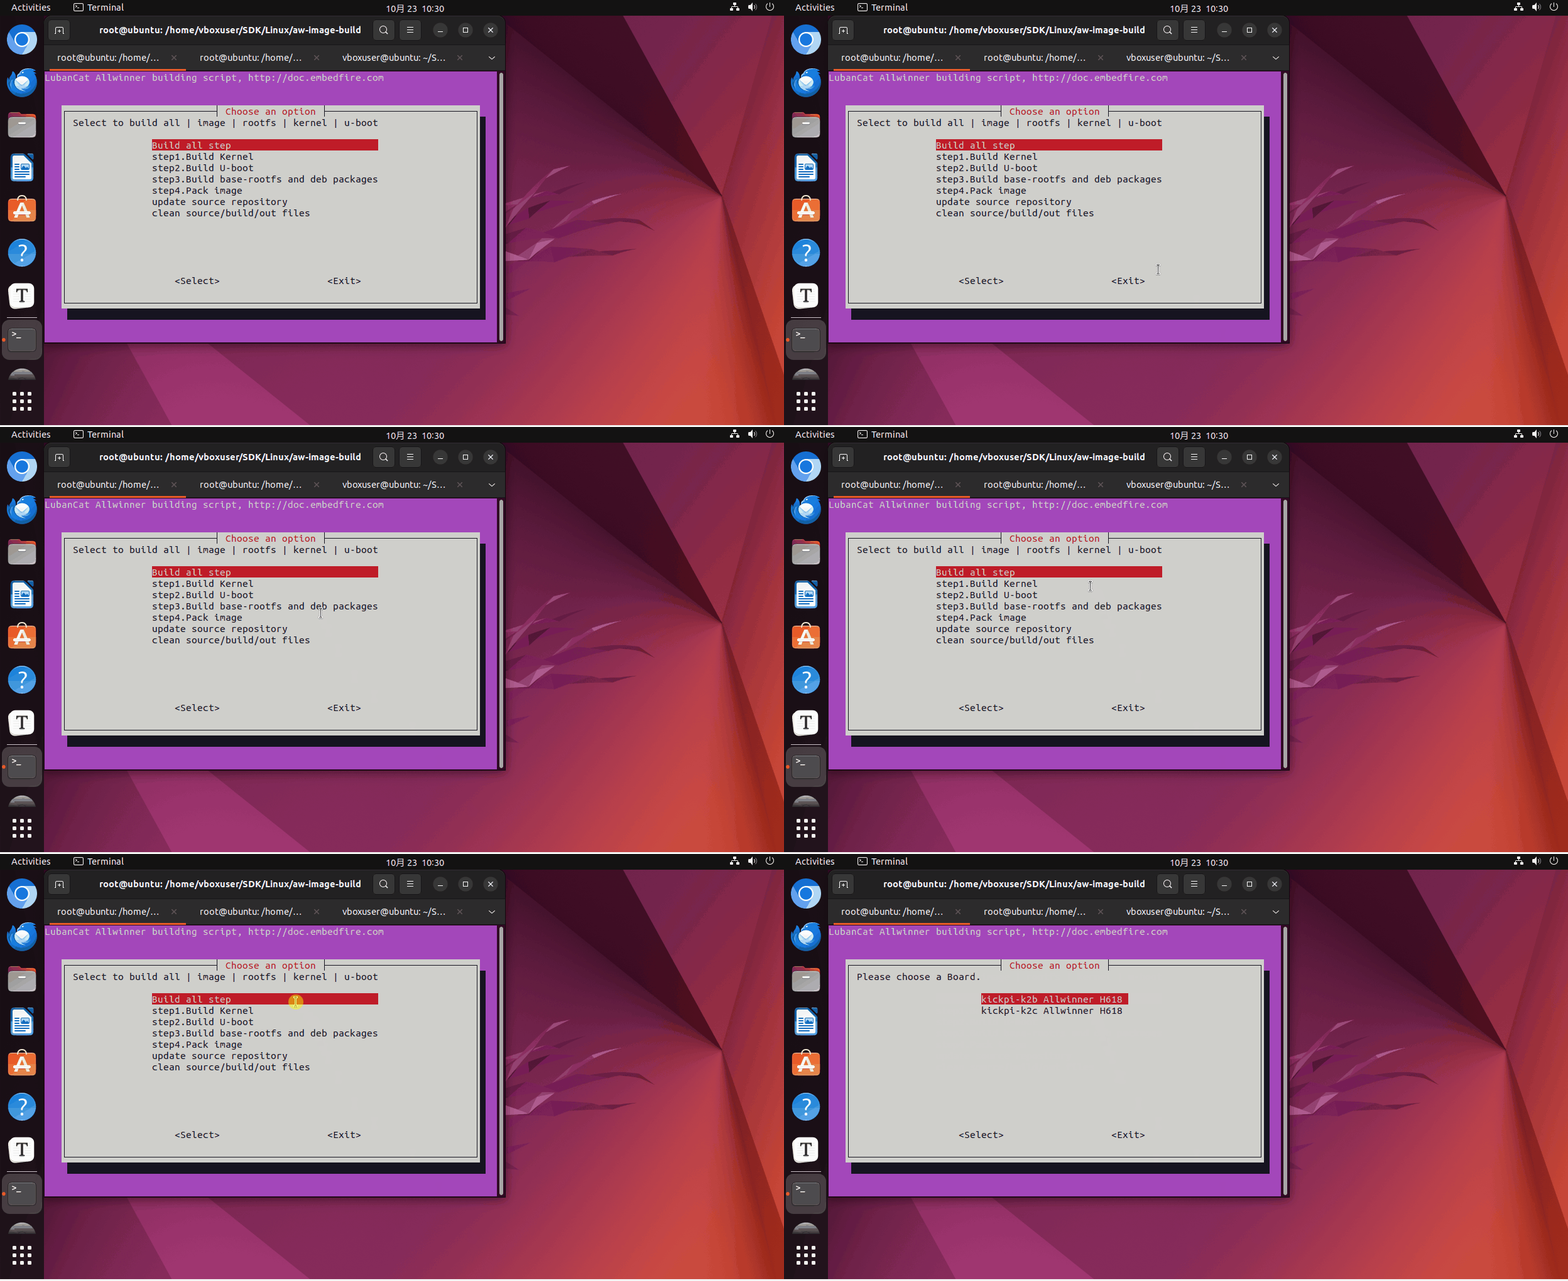
2. Select the target board, such as the Kickpi-K2B Allwinner H618.

3. Choose Jammy Ubuntu.

4. Decide the root filesystem being built is with desktop UI , or just a server version with only console interface.

5. Choose a desktop environment, only Xfce available now.

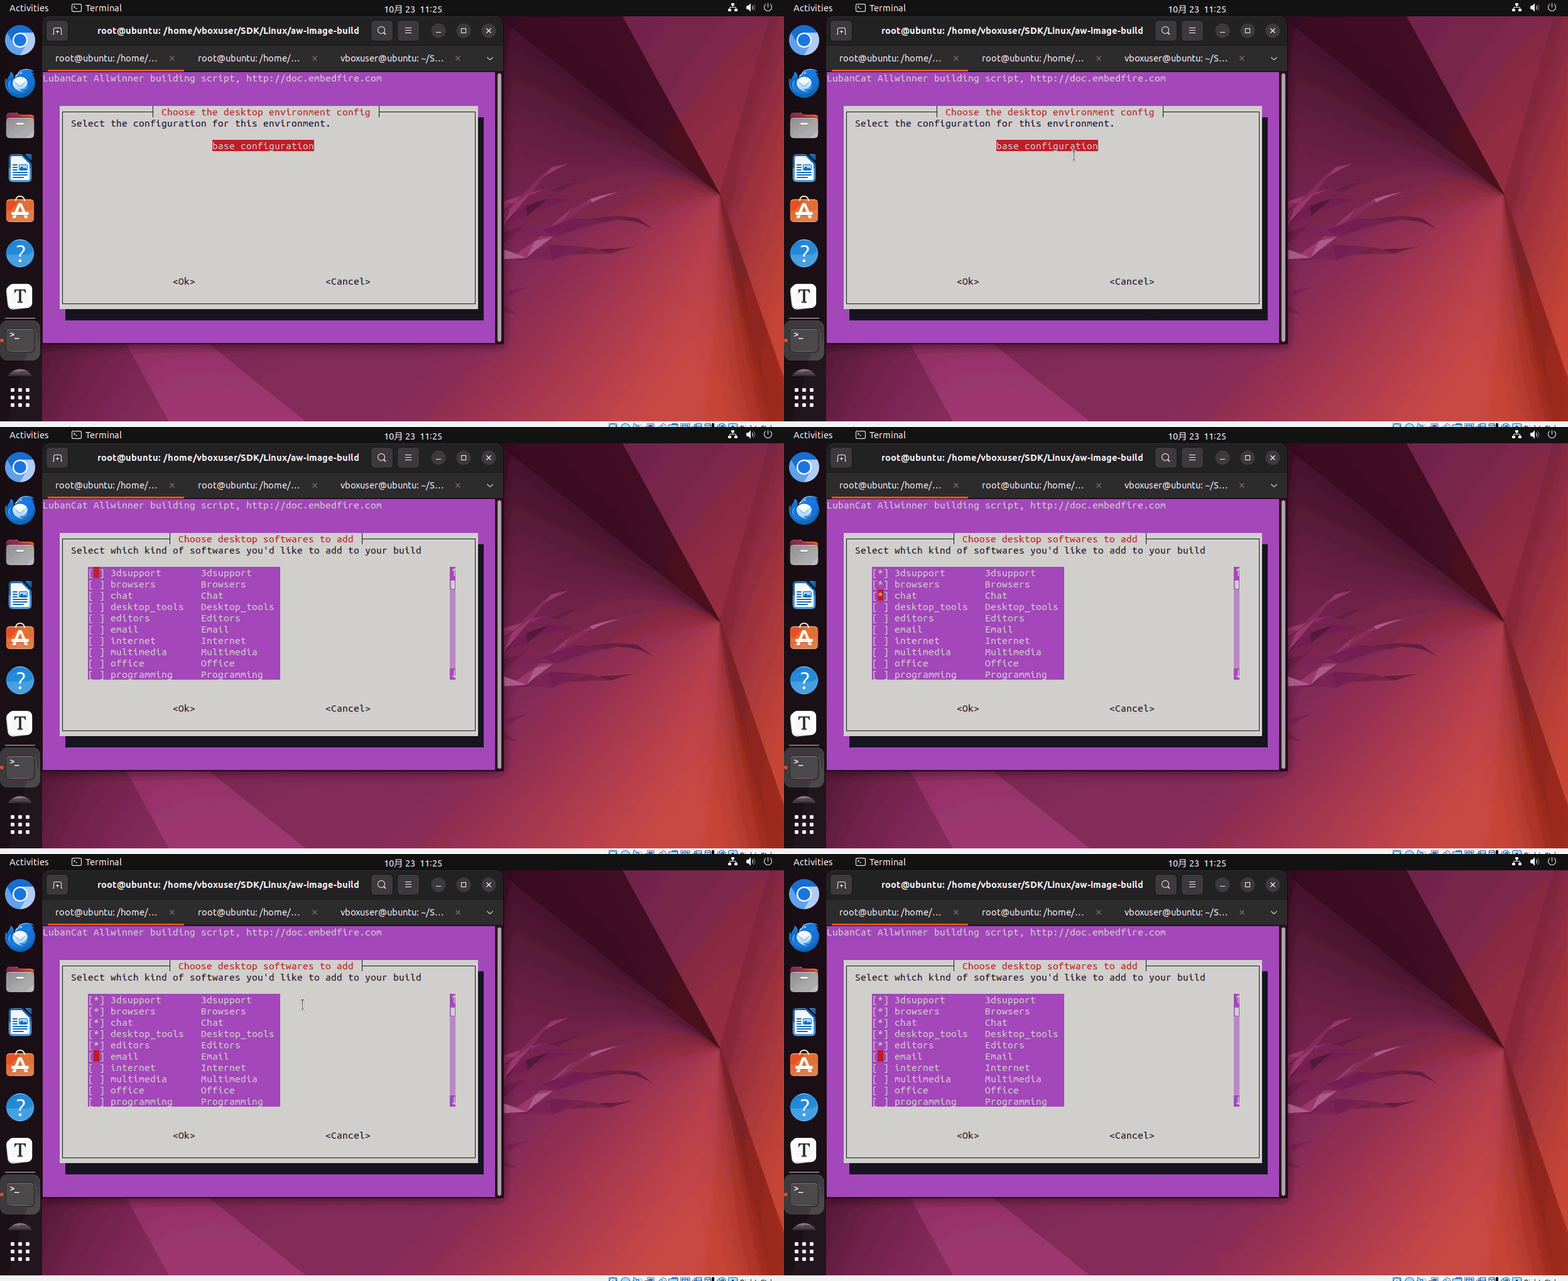
6. Choose configuration file for the root filesystem desktop environment. The default is base configuration.

7. Use the spacebar to Add/Remove the extra packages to/from the root filesystem. Press Enter to begin the build process. Once completed, the image will be generated in the out/images directory.
Single-Step Image Build
For users undertaking secondary development on the board—such as pre-installing applications or modifying and debugging the kernel—this involves building the root filesystem or kernel independently. In such cases, a step-by-step build approach can be selected.
Step1.build Kernel
1. Open the interactive build interface, where you can choose the Build all step for one-click build, or choose single-step builds from step1 to step4. In practice, the one-click build process sequentially executes these four scripts.

2. Proceed to Step 1: Build Kernel. Select the target board for kernel compilation, such as kickpi-k2b Allwinner H618. Wait for the build to complete.
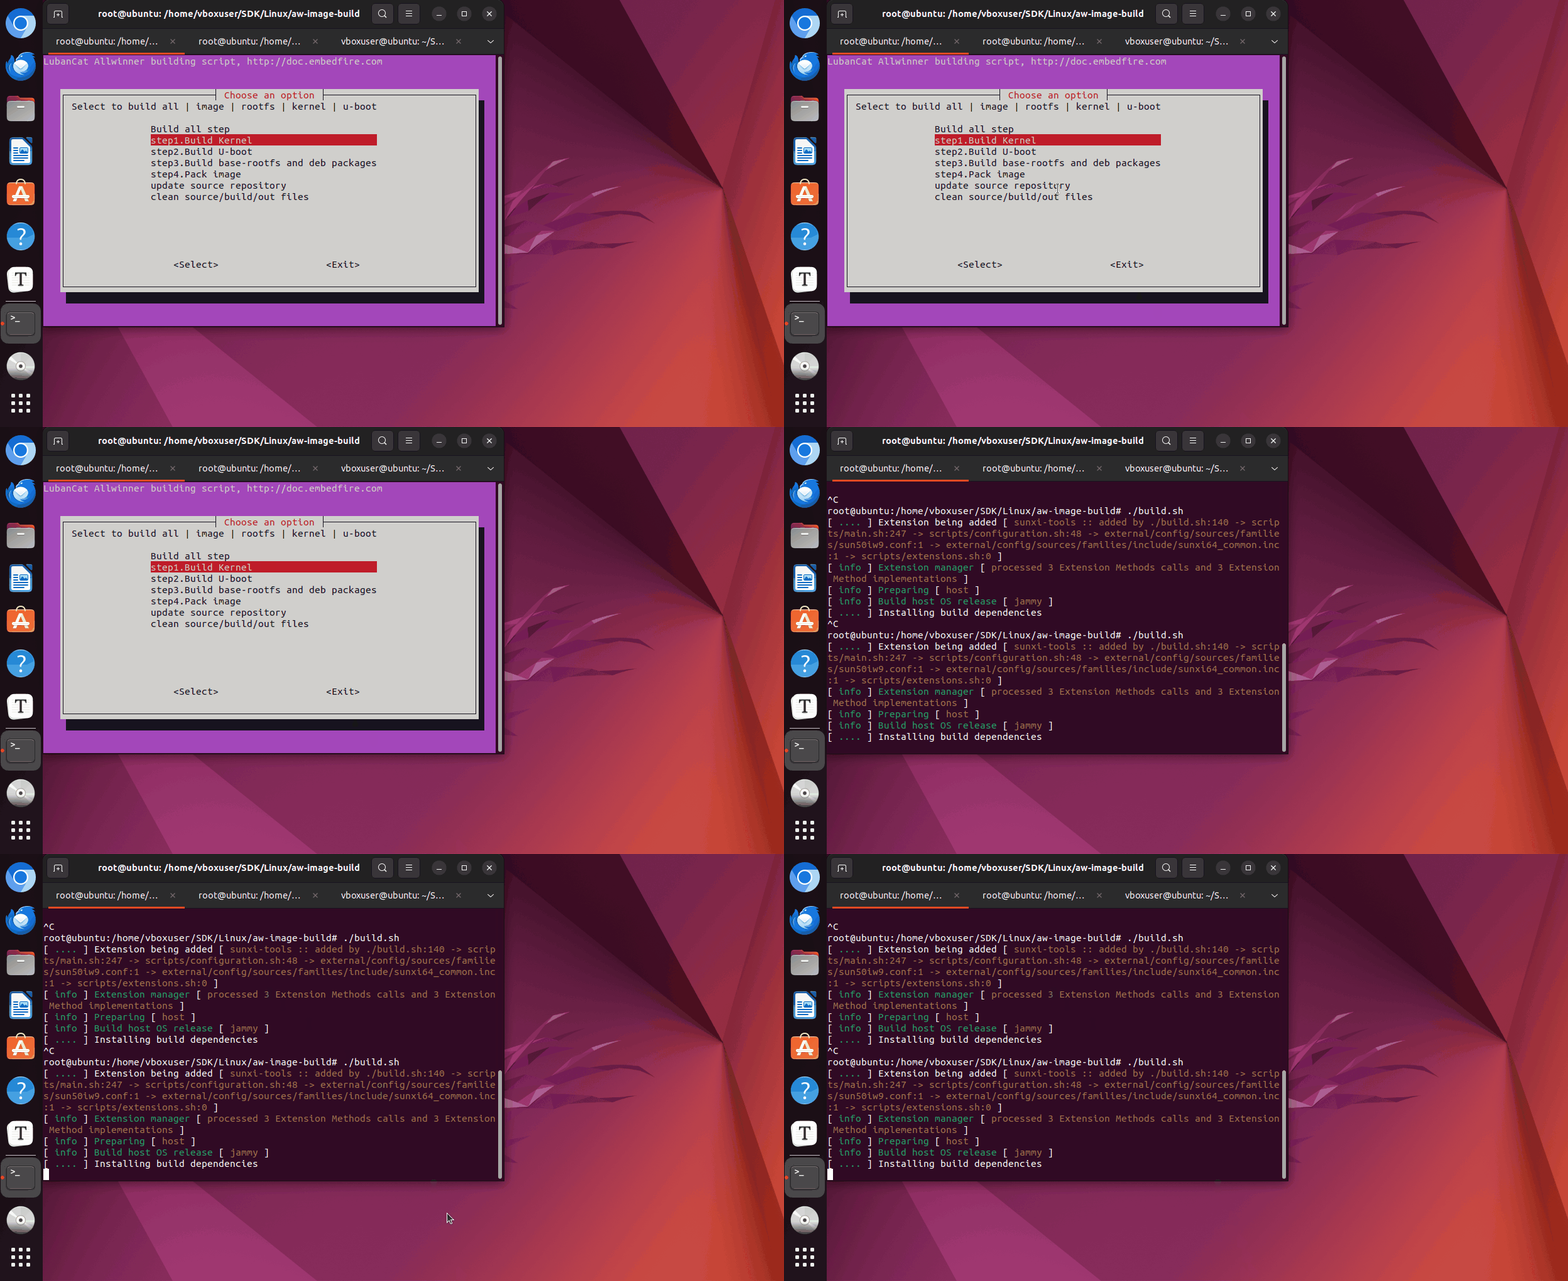
3. When the build is finished, the terminal will display information.
Tip
Kernel deb path:The output folder for the kernel deb file generated after building.
Kernel deb name:Name of the kernel deb package generated.

4. Locate the generated kernel deb package based on the kernel deb path, copy it to the working board, run dpkg -i linux-***.deb in the target board terminal shell, reboot the board, and the kernel update is successful.
Kernel Configuration Modifications
After completing Step 1. build Kernel, how should one proceed to enable or disable a specific kernel feature by modifying the kernel configuration file?
1. Locate the kernel using the auxiliary information printed in Step 1.build Kernel: Compiler kernel path.
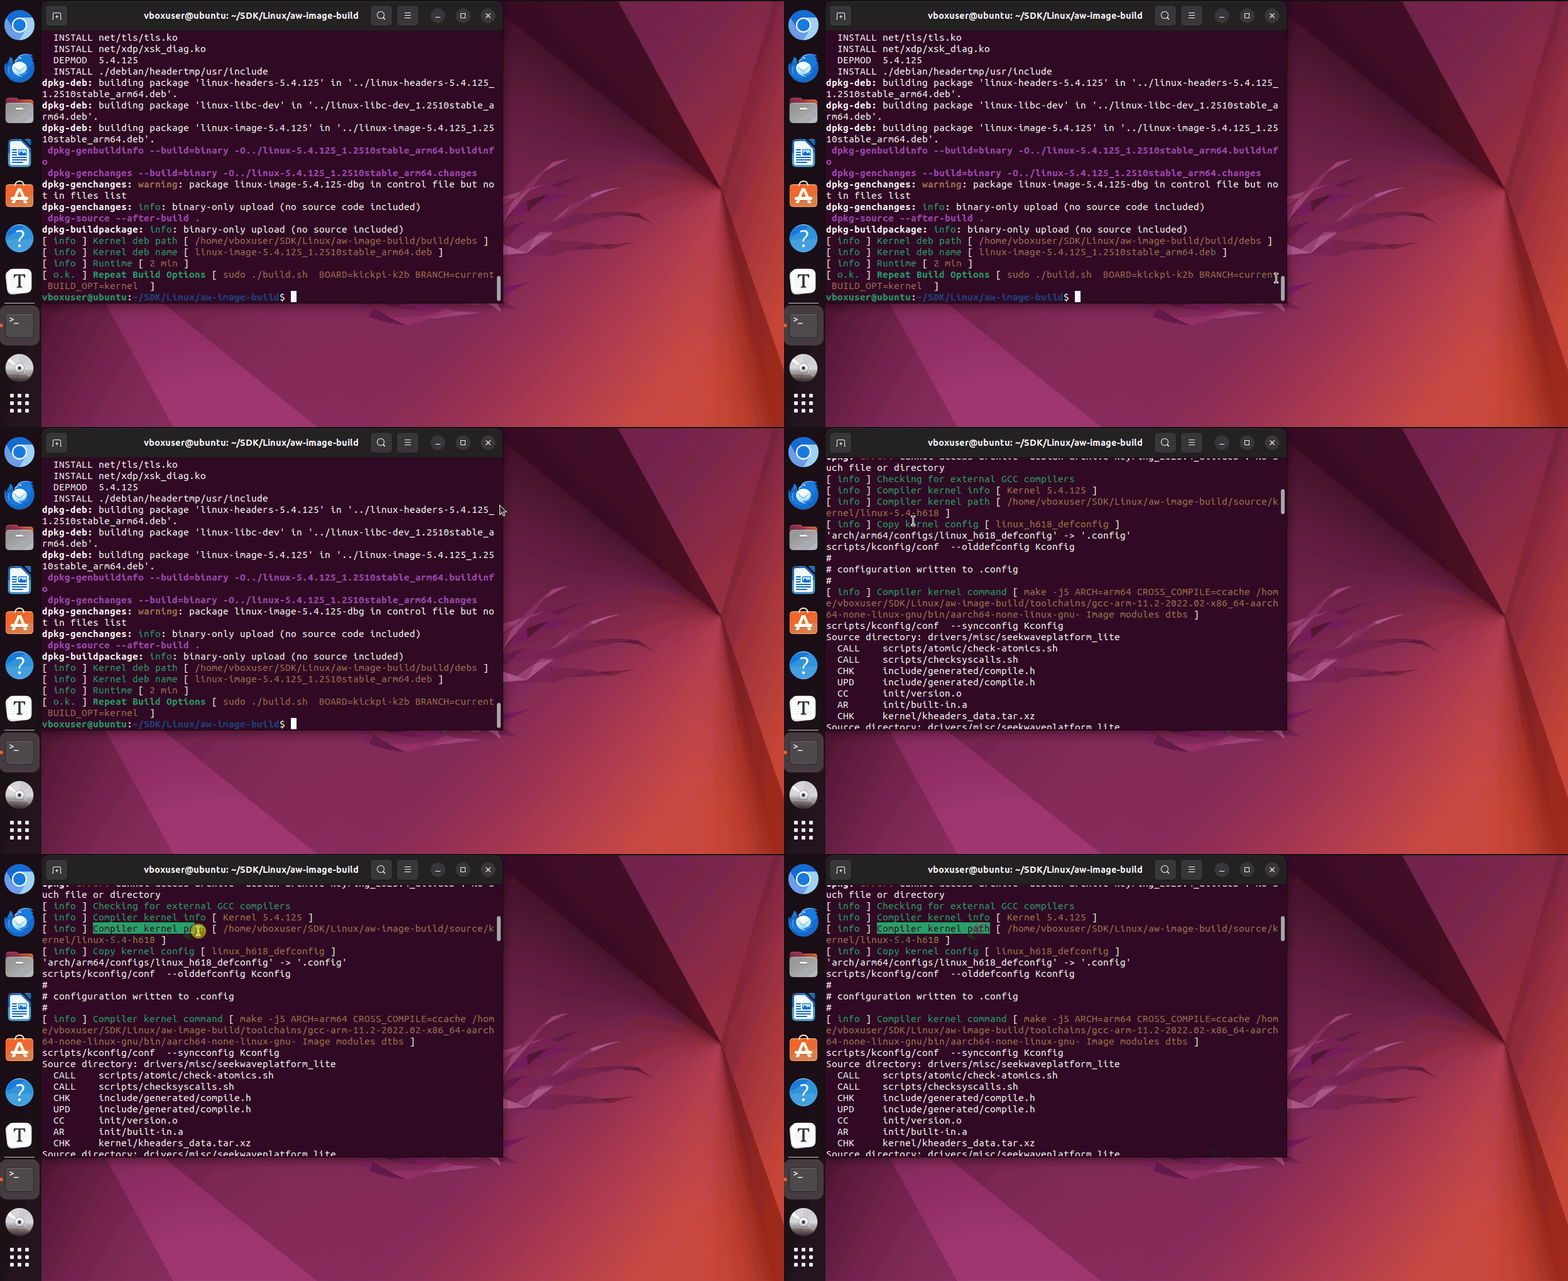
2. cd into the Compiler kernel path ,check the following command sequence.
//Load Configuration File
make ARCH=arm64 linux_h618_defconfig;

//start interactive kernel configuration interface, customize features as you like
make ARCH=arm64 menuconfig

//After making changes, save and exit the menuconfig configuration page. The modified customizations are now saved in .config. Please synchronize these changes to the default kernel configuration file.
//sync .config to defconfig
make ARCH=arm64 savedefconfig

//Replace the default board configuration with the generated defconfig file. eg. linux_h618_defconfig
cp defconfig arch/arm64/configs/linux_h618_defconfig

//View the changes made to the board configuration file
git diff arch/arm64/configs/linux_h618_defconfig
Step2.build U-boot
build u-boot separately and pack the generated u-boot image into a deb file.
1. Open the interactive build interface, select the target board , start building.
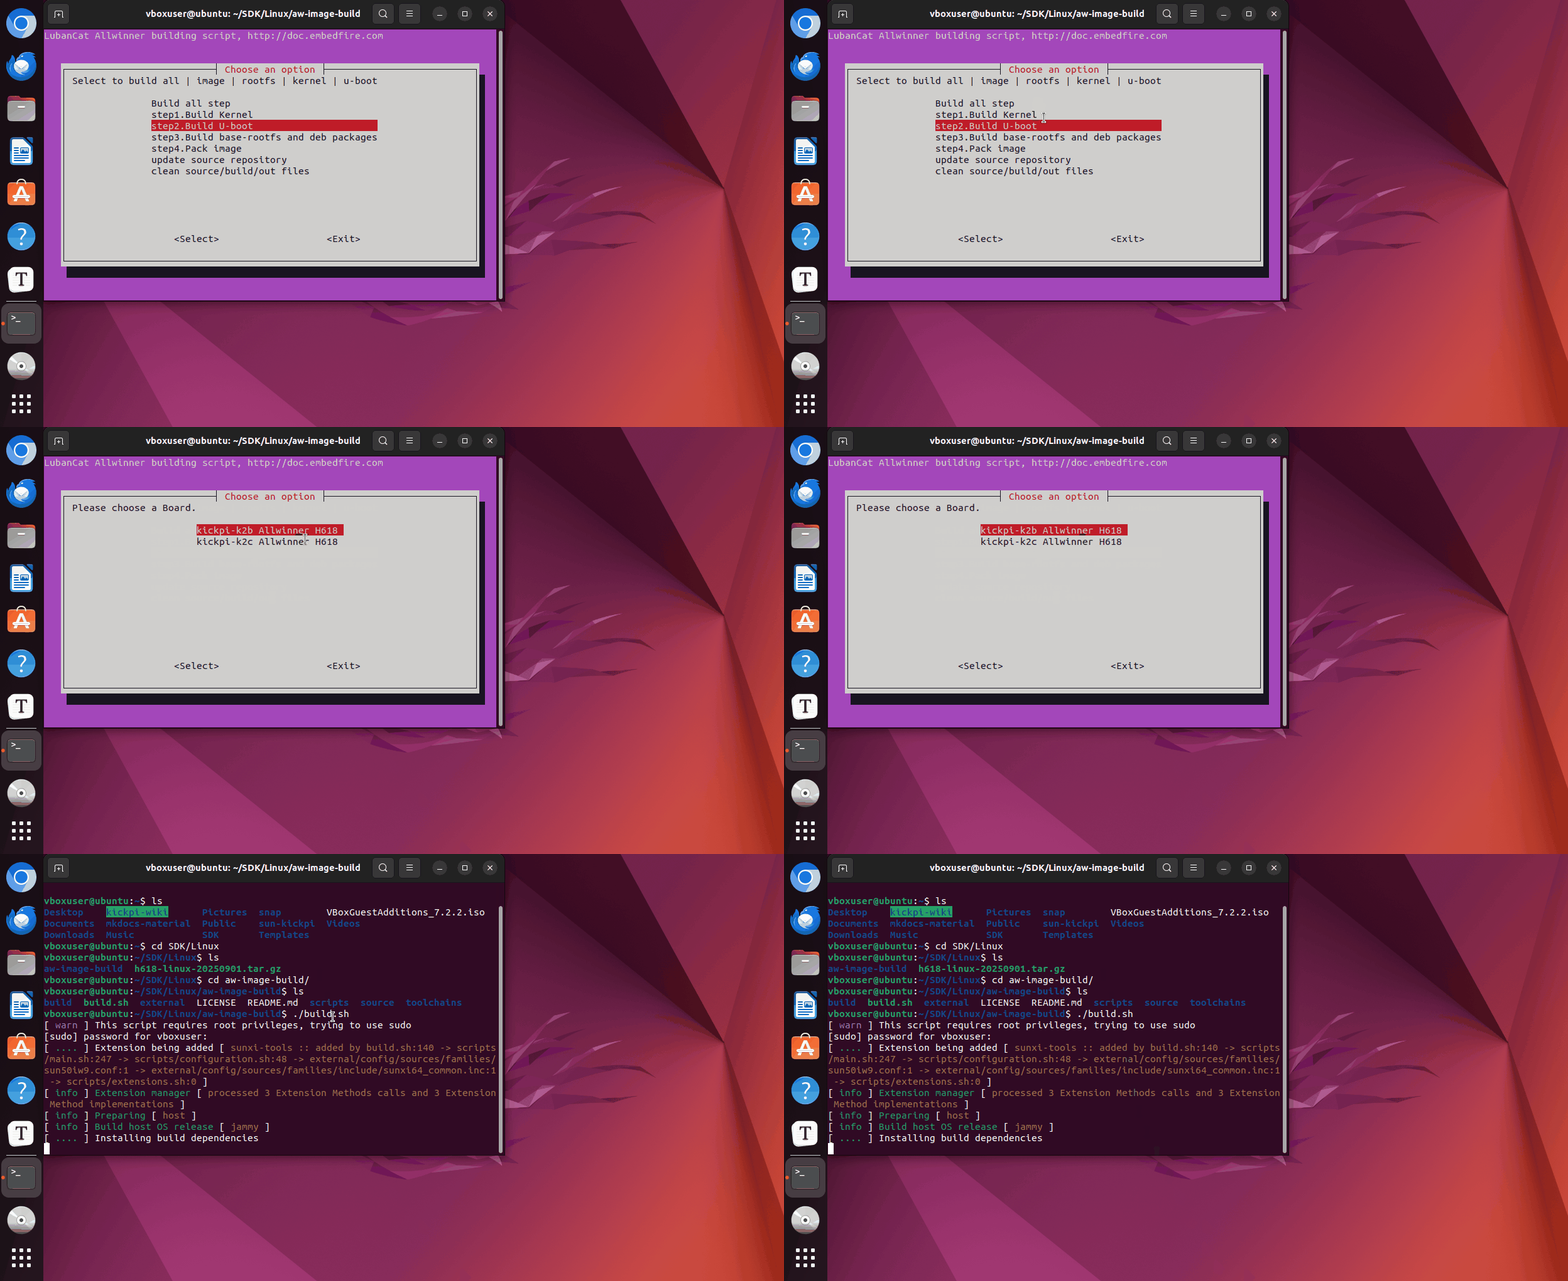
2. When build is completed,Locate the deb file's save path via the auxiliary information printed in Terminal shell.
Tip
Target directory: Ouput folder for the u-boot deb file generated after building.
File name: The name of the u-boot deb file generated.

3. Locate the u-boot deb file in the Target directory.

4. Insert the USB drive and copy the u-boot deb file.
Tip
The generated deb package can be transferred to the board via a USB drive or other means. Here, we use a USB drive to transfer the u-boot deb package.
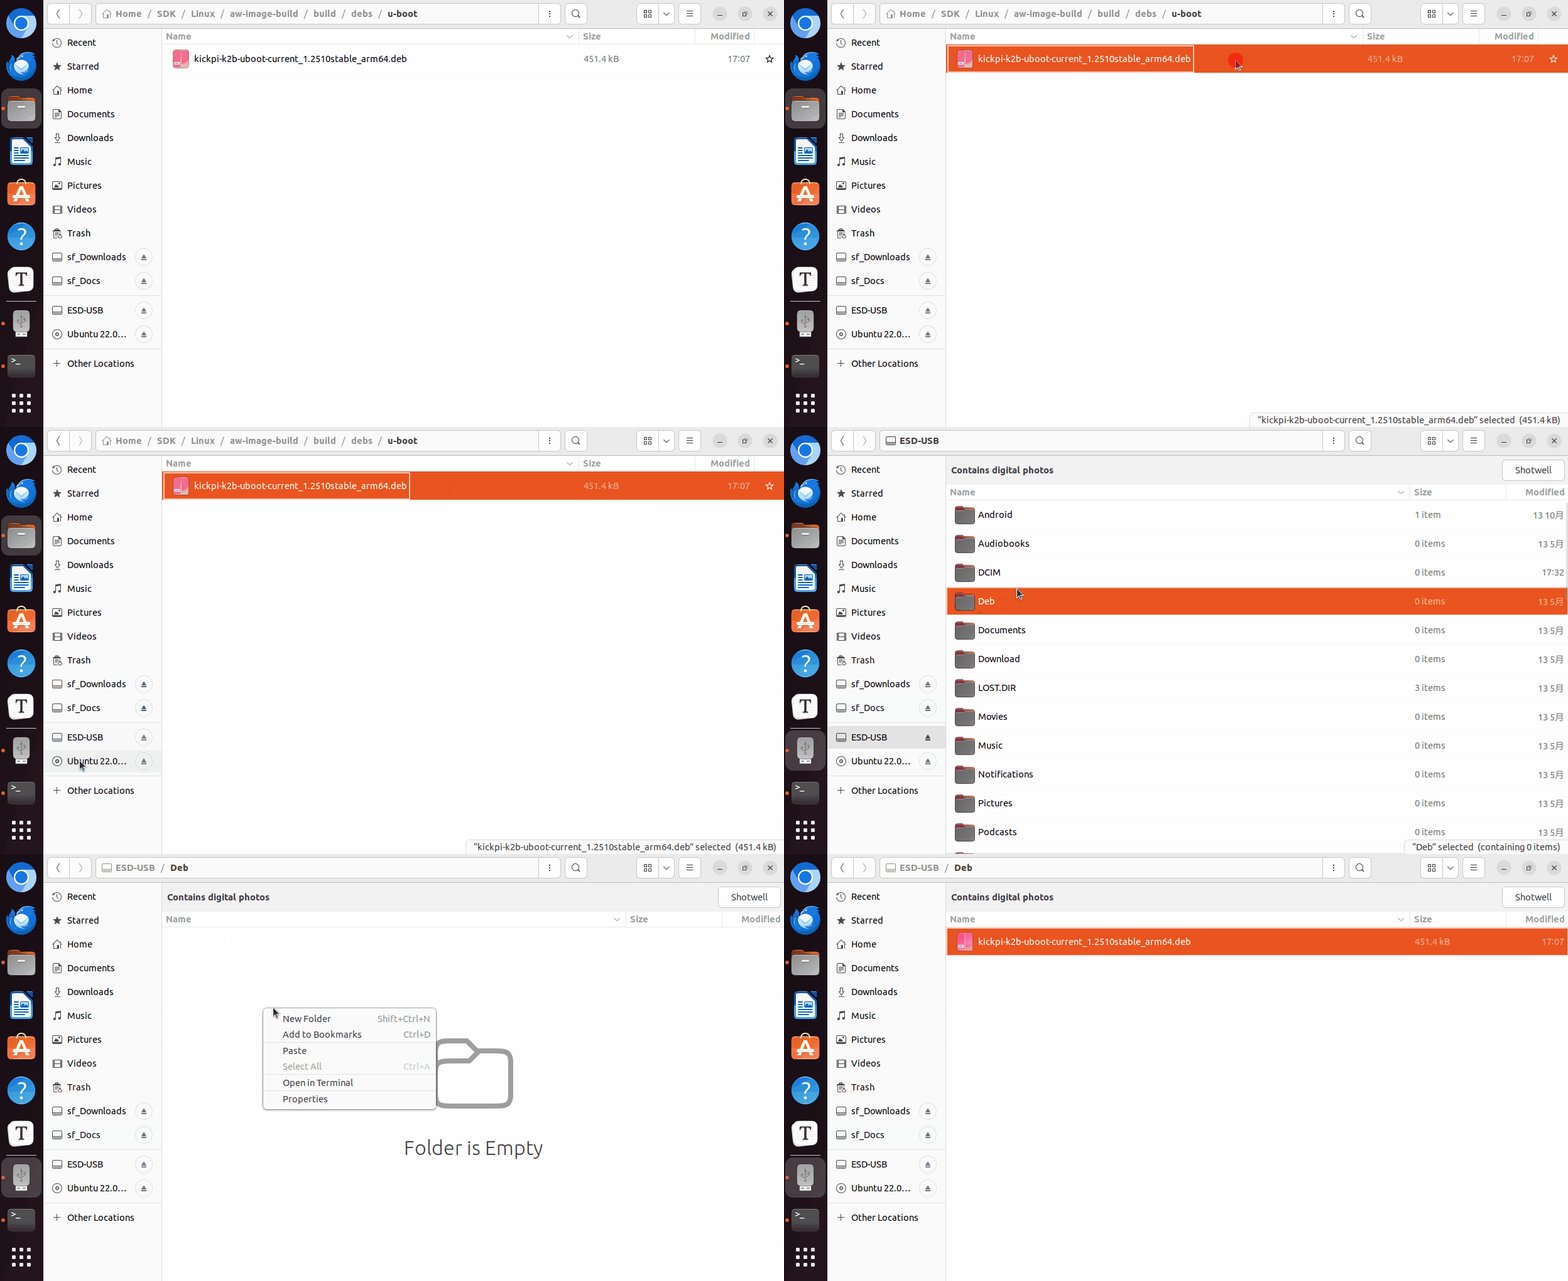
5. Insert the USB drive into target board, copy the u-boot deb file to somewhere in target board, eg. ~/Deb, then open the board's Terminal and execute the installation command.
//Navigate to the directory containing the deb file.
cd Deb
//Install deb
sudo dpkg -i kickpi-k2b-uboot-currentxxxx.deb

6. Run the following command, select Install/Update the bootloader on SD/eMMC, and use the script to write the u-boot deb file to target board, overwriting the original u-boot.

7. Ignore the warning and select Yes.

8. After the installation completed, run the command to reboot the board to bootup with the updated u-boot.

Device Tree Modification
Note
Device Tree Path:
aw-image-build/source/kernel/linux-5.4-h618/arch/arm64/boot/dts/sunxi
sun50iw9-kickpi-k2b.dts
sun50iw9-kickpi-k2c.dts
1. Do Step1.build_Kernel.
2. Do Step 2. build_Uboot.
3. Transfer the Deb file generated by Step 2.build_Uboot to the mainboard, then run the command dpkg -i kickpi-k2b-uboot-currentxxxx.deb on the board.
4. run nand-sata-install and select “Install/Update the bootloader on SD/eMMC” to update u-boot. Reboot after the update completes.
Tool
Note
After building done, the following folder will contain the compiled toolchain:
aw-image-build/toolchains/gcc-linaro-7.4.1-2019.02-x86_64_arm-linux-gnueabi/bin
Add your own applications and tools to this directory:
aw-image-build/external/packages/bsp/common
Q&A
- Failed to compile the CEC driver?

Please refer to the following modifications:
--- a/source/kernel/linux-5.4-h618/drivers/media/cec/cec-pin.c
+++ b/source/kernel/linux-5.4-h618/drivers/media/cec/cec-pin.c
@@ -42,7 +42,7 @@
 /* when polling for a state change, sample once every 50 microseconds */
 #define CEC_TIM_SAMPLE                 50

-#define CEC_TIM_LOW_DRIVE_ERROR                (1.5 * CEC_TIM_DATA_BIT_TOTAL)
+#define CEC_TIM_LOW_DRIVE_ERROR                (3/2 * CEC_TIM_DATA_BIT_TOTAL)

 /*
  * Total data bit time that is too short/long for a valid bit,